Install license step-by-step
From AutoPIA
In order to install a license, you need an installed instance of AutoPIA (see the step-by-step procedure) and a valid license for a specific USB device, which is a file sent by CyberQual (see the step-by-step procedure on how to request a demo license).
The following step-by-step procedure describes how to install a license.
- Run the program
- A window informs you that a license is not installed and asks what to do:

- select "Install a license"
- press "Next"
- The window allows the selection of a file
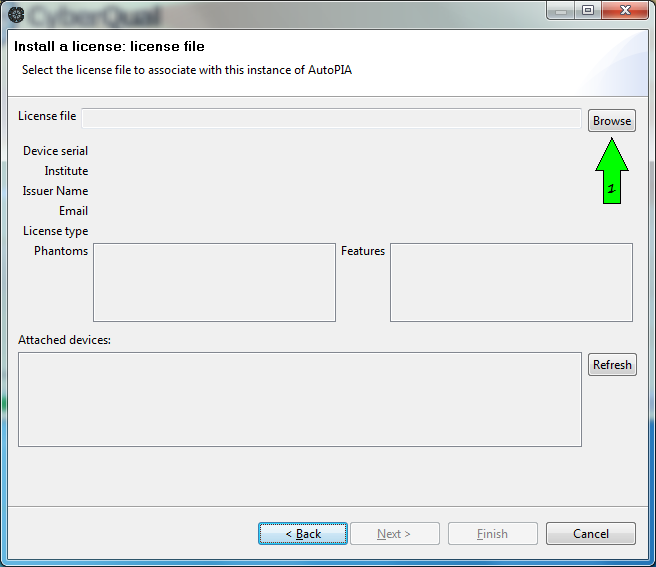
- Press "Browse" and choose the license file
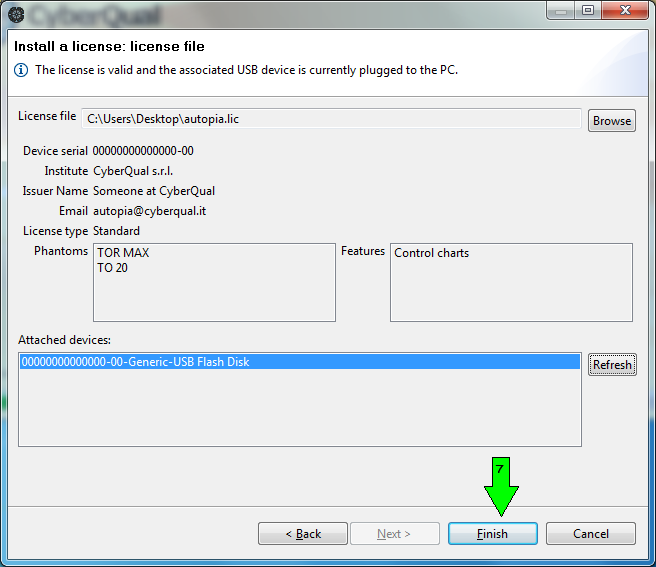
- When selected, AutoPIA visualise the description of the license: check that this is exactly what you bought
- If the USB device associated to the license is plugged, it is
selected inside the list and the "Finish" button is endabled; go to step
7 (press finish)
- If the USB device associated to the license is not plugged, the "Finish" is disabled and a warning message is displayed on top
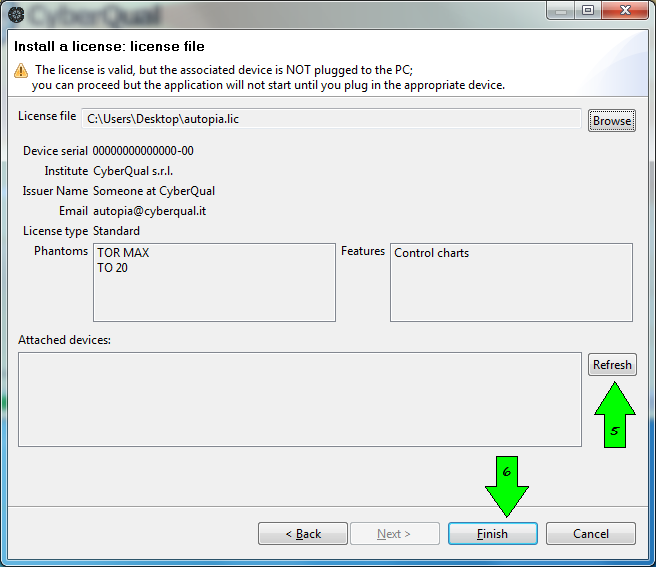
- Plug in the USB device associated to the license and press "Refresh"
- Select the USB device you want to associate to the license: then "Finish" button is enabled
- Press the "Finish" button.
- The program will continue starting, showing on the splash screen
- The license information
- The program version

- The splash screen closes and the program main window will appear. To visualize the splash screen on demand, go to menu Help | About.