Install step-by-step
From AutoPIA
AutoPIA is provided with a standard step-by-step installer, which is available in the download page on CyberQual web site.
Download the installer, launch it with a doble-click and follow the simple instructions. The procedure is very straight forward and the default choices will work on amost any anvirnment.
A detail explanation of all steps involved in installing AutoPIA follows
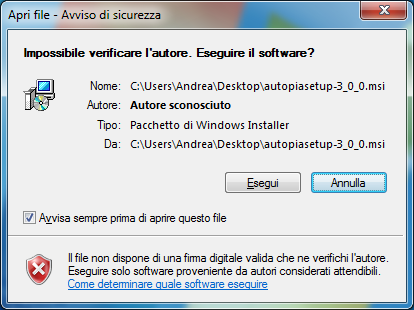
- Run the installer by just double-clicking on the installer
- Windows operation system will pop-up a security question, because
AutoPIA installer has not been signed as a Windows application. Answer
"Execute" (picture will be in the language of the operating system, in
this example italian)
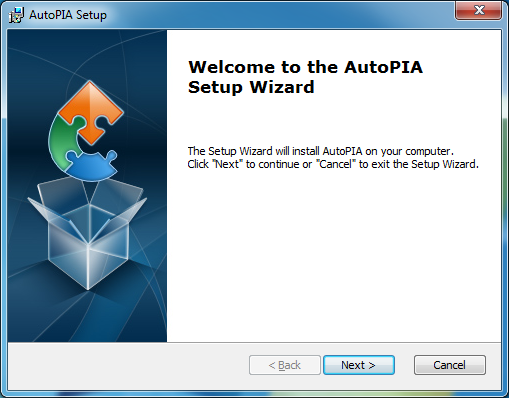
- First page of the installer is just a welcome. Press "Next"
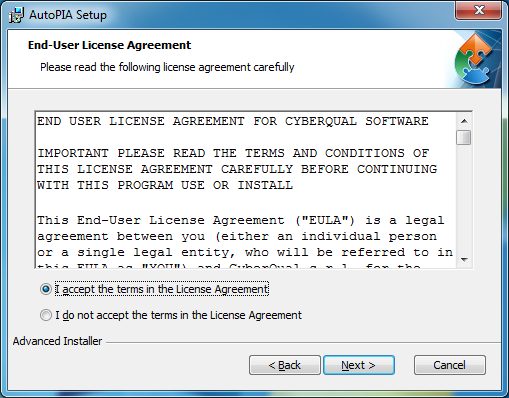
- Next page shows you the AutoPIA license agreement.
Please read it carefully, because you cannot install or use the program
if you do not agree with it. If you want you can also read the license
agreement here
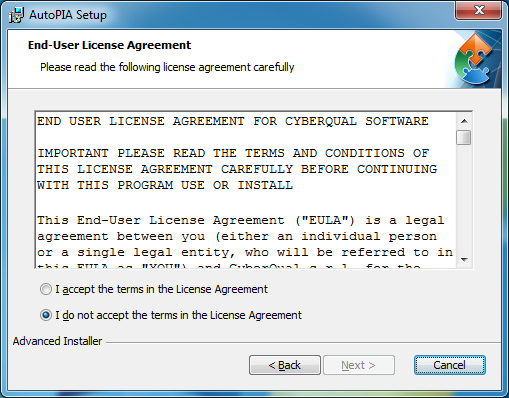
- Choose "I accept the terms of the license agreement" and press "Next".
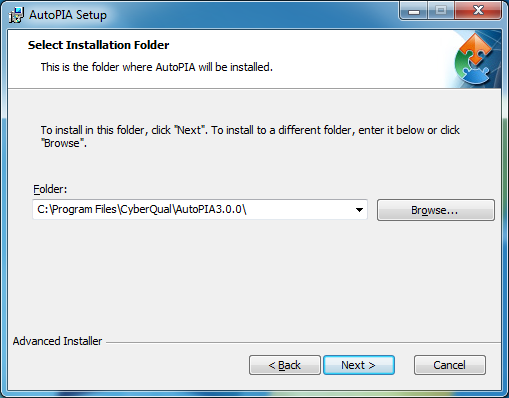
- On next page you can choose where to install the program: the
default choice is the default directory of the operating system. Then
press "Next"
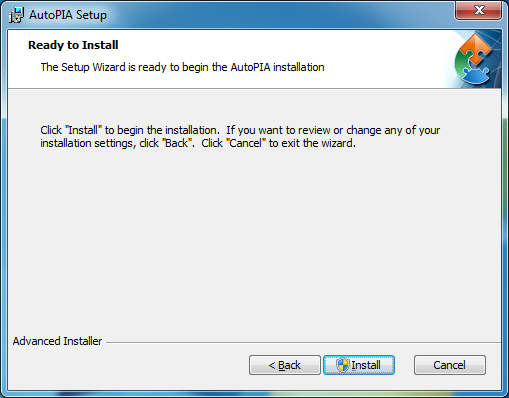
- You are ready to install the software: if you change your mind on
some choices you can go back clicking on "Back" button, otherwise click
on "Install". On next page you can choose where to install the program:
the default choice is the default directory of the operating system.
Then press "Next"
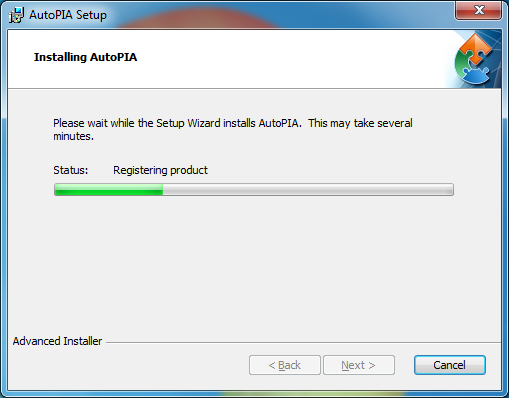
- The installer begins copying files. Depending on your account, it is possible that the operating system will ask a confirmation
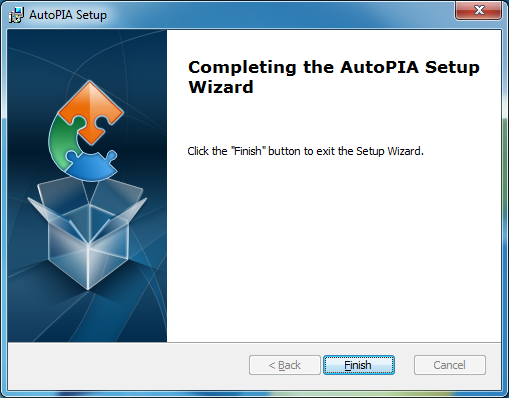
- A final page appears when the installation terminats. Just clcik on "Finish"
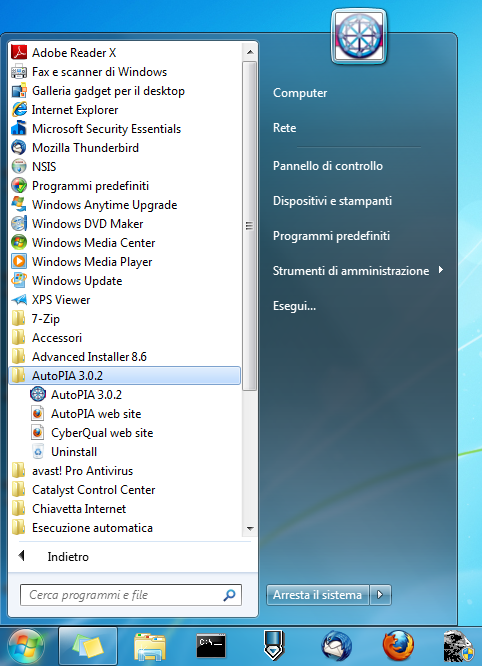
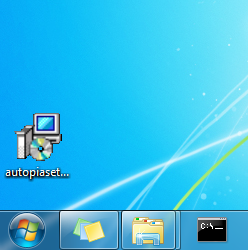
- After the program has been installed, there will be
- a new icon on the desktop for launching AutoPIA
- a new "orb menu" (on Windows Vista and Windows 7, "Start menu" on Windows XP) with the links to
- launch AutoPIA
- go to AutoPIA specific web site
- go to CyberQual web site
- uninstall AutoPIA