Request demo license step-by-step
From AutoPIA
In order to request a demo license, you need to have AutoPIA installed on your PC. See the step-by-step procedure for AutoPIA installation.
Once you have installed AutoPIA, you need a license to run it; the following steps describe how to obtain a license.
- Run the program
- A window informs you that a license is not installed and asks what to do:
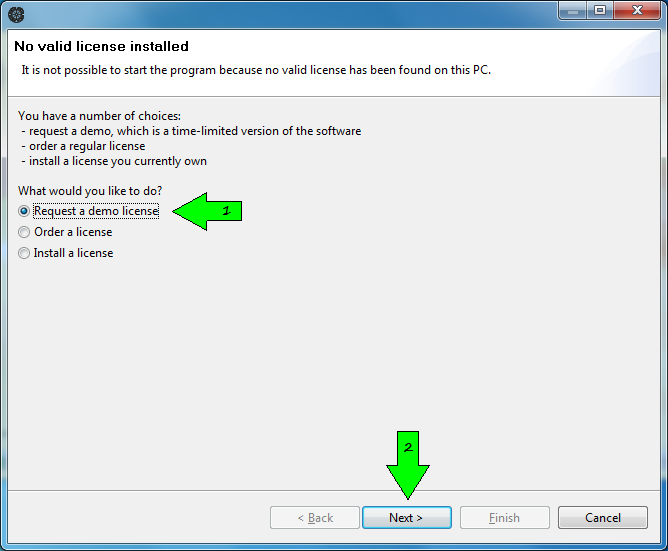
- select "Request a demo license"
- press "Next"
- A license is always associated to a USB device and AutoPIA will run
only if the USB device is plugged into the system. Usually a flash drive
is used, in order to easily move the license from one PC to another.
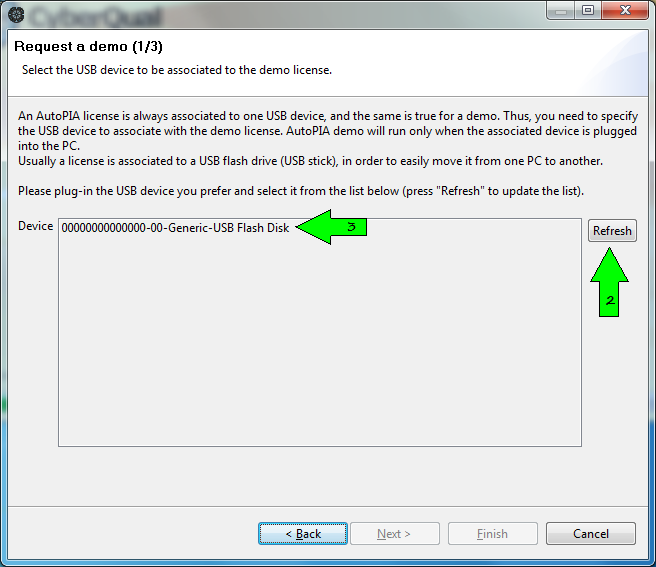
- Plug in a USB device of your choice
- Press "Refresh"
- Select the device from the drop-down list (if the device is not in
the list, then plug another one and press "Refresh again", because not
all devices are suitable to be linked to a license: see FAQ for further details)
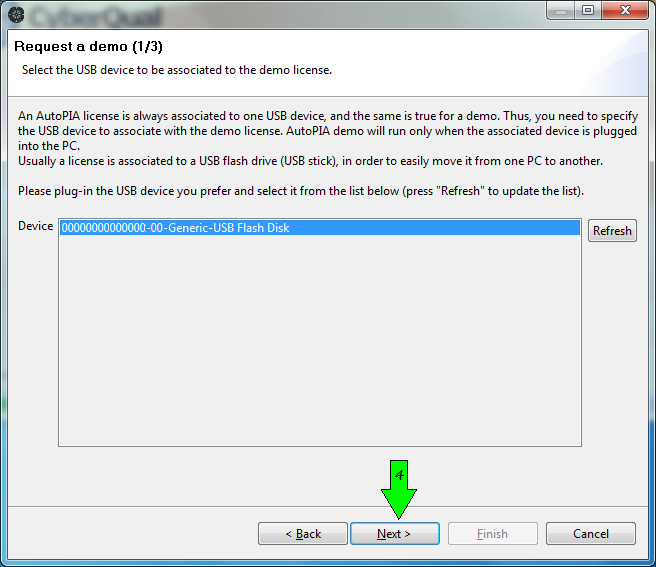
- press "Next"
- The license is a simple file, which will be sent to the email
address provided: information about the institute and the person
requsting the demo is welcome, but not required
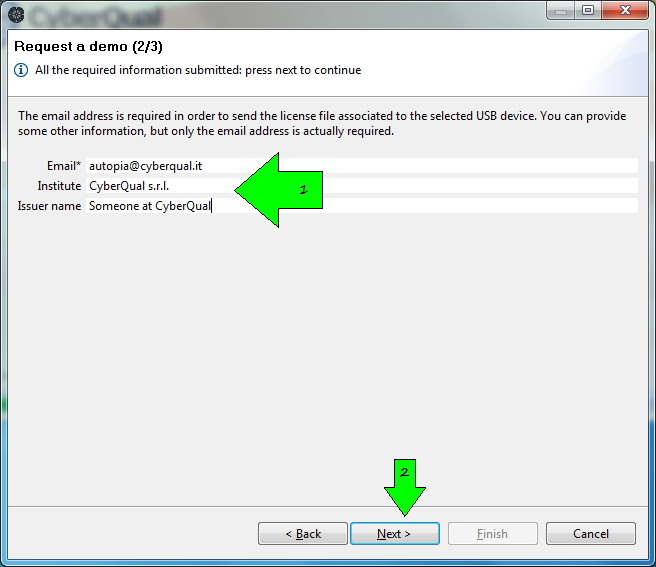
- Fill the information to be associated to the license
- Press "Next"
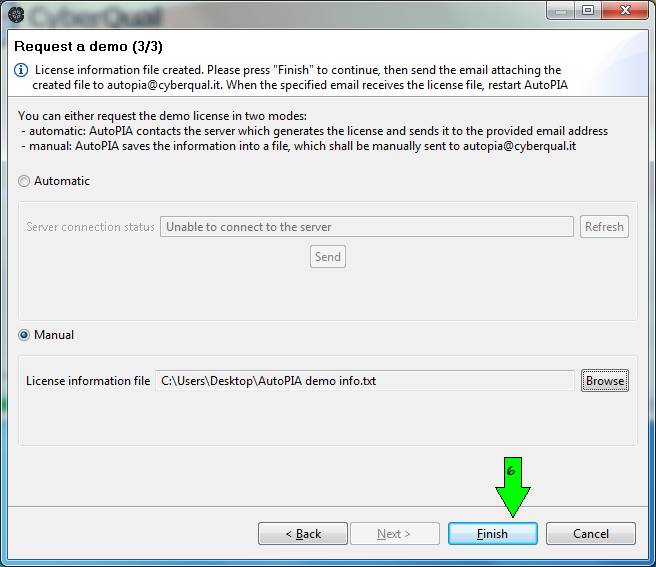
- The request for the demo license can be performed in two ways: automatically and manually
- Automatically

- Select the "Automatic" option
- The software tries to connect to the license management server: if it succeeds, the "Send" (2a) button is enabled and can be pressed, otherwise the "Server connection status" label (2b) shows some information about the reason. In order to force AutoPIA to retry, press "Refresh" (2c)
- Manually
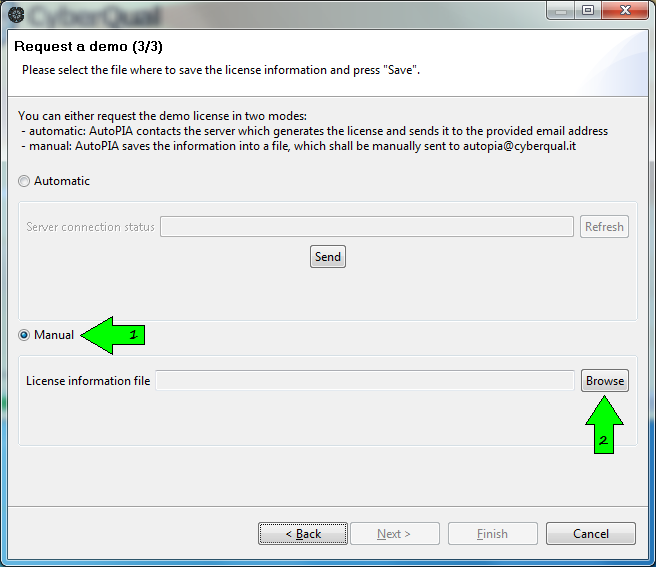
- Select the "Manual" option
- Click on "Browse" in order to select where to save the file containing the information
- A standard file save dialog pop-ups; select the directory and eventually change the file name, then press "Save"
- Send the generated file to CyberQual (replace * with @).
- Automatically
- For both automatic and manual modes, click on "Finish"